
I hate cooking chicken. I like cooking matzoh ball soup. But do you know what I really love to cook up for Passover?

Quilted Matzoh!
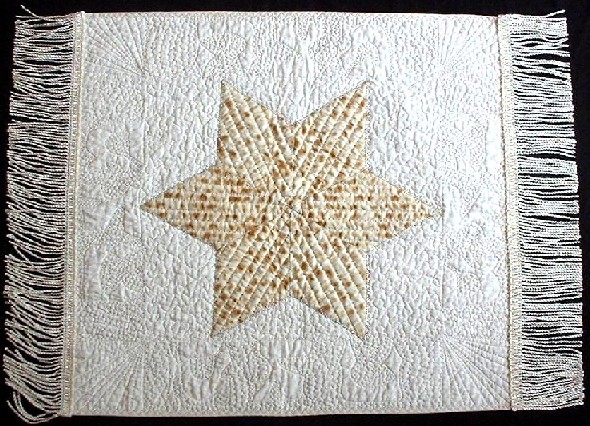
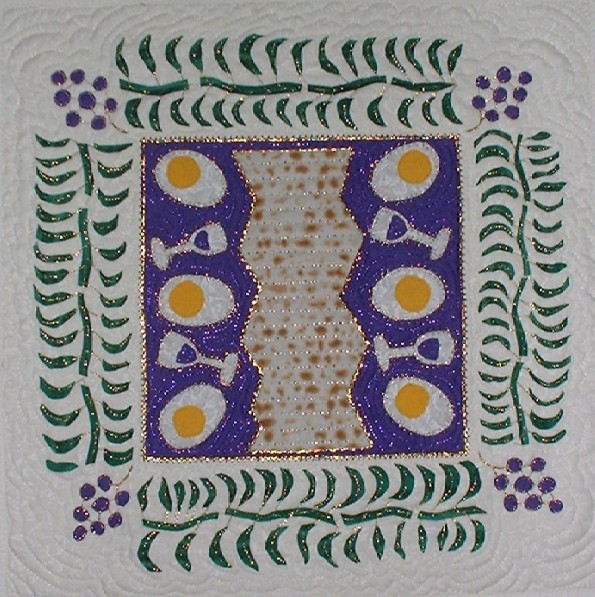
Here's a heavily quilted matzoh cover. I pieced the star from matzoh fabric, appliqued to a white background. The word 'matzoh,' in Hebrew, is quilted down the sides.
Getting your hands on matzoh fabric is, alas, more difficult than it used to be. The Marcus Brothers fabric company made a wonderfully convincing trompe l'oeil matzoh fabric, which I used in all of the projects above, and many more. Unfortunately, they discontinued it, which was...well, cruel.(I protect my last two yards of this fabric like my own children. except I let the children out of the house). One store carries their own lines of matzoh fabric: 1-800-dreidel.com.
I have also MADE matzoh fabric. Here are three approaches, in increasing levels of abstraction:
1. Scan a real matzoh. Place an actual matzoh on a flat-bed scanner (they won't travel through the other kind without making a hideous mess). Scan at a high resolution.
The top image at right is a scanned 'shmura' -'guarded' - matzoh from the Chabad folks; they are round, uneven (I found one that looks like a kidney, though I haven't yet found one that looks like the Madonna), and, for religious reasons, they are cooked to the point of burning (so that there is no possibility that the flour will rise).
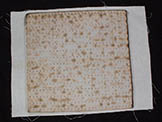
In the image underneath, there's a scan of flat commercial square matzoh - much easier to scan!
You can fool around with your - or my - results in an image-editing program, as I did with the square matzoh - soften it, turn it black and white. Print the results onto commercial inkjet fabric sheets; or onto iron-on transfer-paper, or onto your own fabric that you've treated with a product like Bubble Jet Set, as in the third photo at right. (More about photo transfers to fabric here). (Tip: After scanning, be sure to brush off the crumbs off the scanner. Also, never, ever, butter the matzoh before applying it to the scanner.)
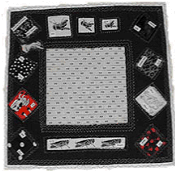
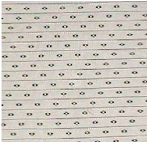
2. Buy Stripes. Go to the fabric store (a dirty job but...) and look over striped fabrics until one cries "matzoh" to you, like the shirting fabric at the right. At the quilting stage, stitch up and down the lines until it's bumpy like matzoh. The photo at the far right shows the fabric set in a black-white-and-red matzoh cover project (surrounded by plagues).
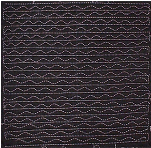
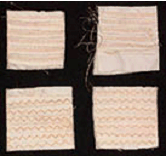
3. Machine embroider the fabric, alternating straight and decorative stitches. Two alternating stitches - one wide, and one straight - can evoke the lines of matzoh Here I alternated rows of a straight-stitched line, with rows of a three-step zig zag. The straight line stitches represent the rows of perforation dots. The wavy stitches represent the puffy brown spots.
Begin by marking the straight lines about 3/8" apart. (Yes, that is the actual, measured distance between perforations on a major brand of Passover matzoh.)After marking, put the fabric on a tear-away stabilizer. Ignore the straight linesyou marked, for now. Instead, sew the rows of wider stitching - which represent the puffy brown bubbles. Then, remove the stabilizer, add batting and backing. At the quilting stage, straight stitch on the straight marked lines, through all three layers, to indent the lines. Below are some more samples I did with this technique on white fabric, with gold thread.
And when you're done, don't forget to send me your pictures!
I have also MADE matzoh fabric. Here are three approaches, in increasing levels of abstraction:
1. Scan a real matzoh. Place an actual matzoh on a flat-bed scanner (they won't travel through the other kind without making a hideous mess). Scan at a high resolution.
The top image at right is a scanned 'shmura' -'guarded' - matzoh from the Chabad folks; they are round, uneven (I found one that looks like a kidney, though I haven't yet found one that looks like the Madonna), and, for religious reasons, they are cooked to the point of burning (so that there is no possibility that the flour will rise).
In the image underneath, there's a scan of flat commercial square matzoh - much easier to scan!
You can fool around with your - or my - results in an image-editing program, as I did with the square matzoh - soften it, turn it black and white. Print the results onto commercial inkjet fabric sheets; or onto iron-on transfer-paper, or onto your own fabric that you've treated with a product like Bubble Jet Set, as in the third photo at right. (More about photo transfers to fabric here). (Tip: After scanning, be sure to brush off the crumbs off the scanner. Also, never, ever, butter the matzoh before applying it to the scanner.)
2. Buy Stripes. Go to the fabric store (a dirty job but...) and look over striped fabrics until one cries "matzoh" to you, like the shirting fabric at the right. At the quilting stage, stitch up and down the lines until it's bumpy like matzoh. The photo at the far right shows the fabric set in a black-white-and-red matzoh cover project (surrounded by plagues).
3. Machine embroider the fabric, alternating straight and decorative stitches. Two alternating stitches - one wide, and one straight - can evoke the lines of matzoh Here I alternated rows of a straight-stitched line, with rows of a three-step zig zag. The straight line stitches represent the rows of perforation dots. The wavy stitches represent the puffy brown spots.
Begin by marking the straight lines about 3/8" apart. (Yes, that is the actual, measured distance between perforations on a major brand of Passover matzoh.)After marking, put the fabric on a tear-away stabilizer. Ignore the straight linesyou marked, for now. Instead, sew the rows of wider stitching - which represent the puffy brown bubbles. Then, remove the stabilizer, add batting and backing. At the quilting stage, straight stitch on the straight marked lines, through all three layers, to indent the lines. Below are some more samples I did with this technique on white fabric, with gold thread.
And when you're done, don't forget to send me your pictures!
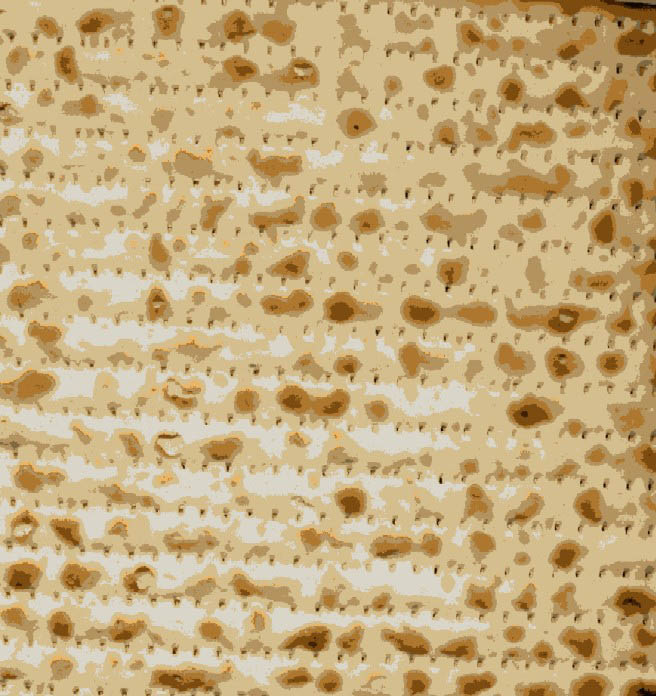
Above:Shmura matzoh, scanned. Below, commercial matzoh scanned. Click on these two scans for full-sized images. You may use them to make your own matzoh fabric.

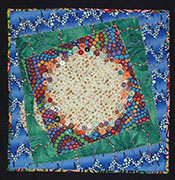
Row 1: Three matzoh covers. one with hard-boiled eggs and wine glasses, one with plagues, and one with many, many buttons.
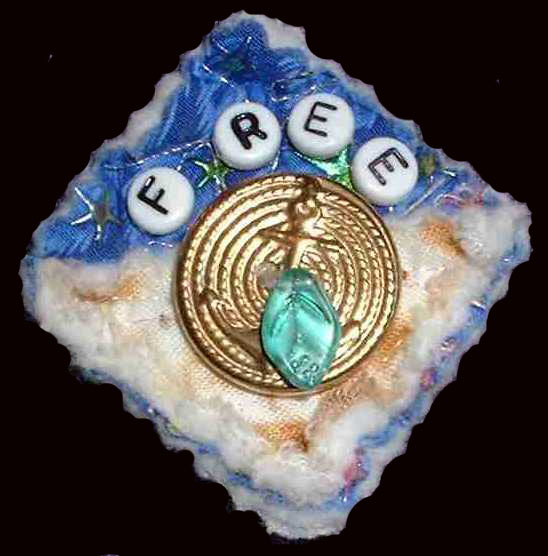
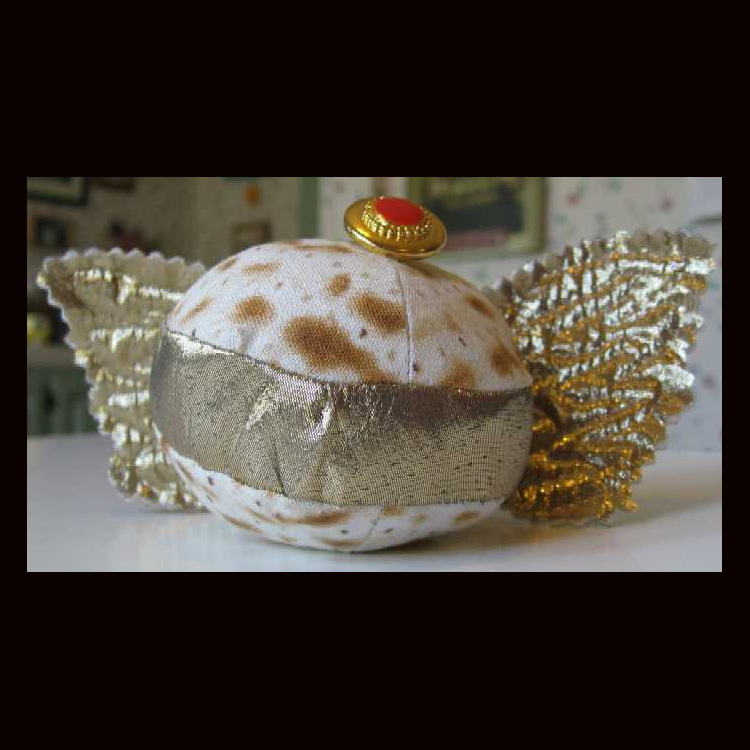
Row 2: Matzoh brooch, matzoh kippah, and golden flying matzoh ball/snitch;
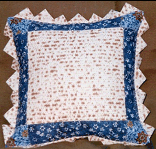
Row 3: Pillow, round matzoh cover, tiny sparkly tote.
You can click on most of these images for a better view.
Row 2: Matzoh brooch, matzoh kippah, and golden flying matzoh ball/snitch;
Row 3: Pillow, round matzoh cover, tiny sparkly tote.
You can click on most of these images for a better view.
Scanned matzoh, printed onto cotton fabric.
Above, this shirting fabric cried 'Matzoh!' Below, fabric set among black, white, and red images of plagues.
Step 1: Obtain or create matzoh fabric. (See below). That's the hard part.
Step 2. Sew it into something for the seder that is lovely, thought provoking, wearable, or just plain fun! Such as:
Step 2. Sew it into something for the seder that is lovely, thought provoking, wearable, or just plain fun! Such as: